I started this project out of a desire for a more interactive way
to create and perform electronic music. I found that when it came
to performing with synthesizers, many artists tend to lose the
physical elements of performance that came so naturally to other
instruments. Having played in the
Bato Bato
marimba band in high school, I thought that playing a synthesizer
with mallets would be a unique creative experience.
The Process
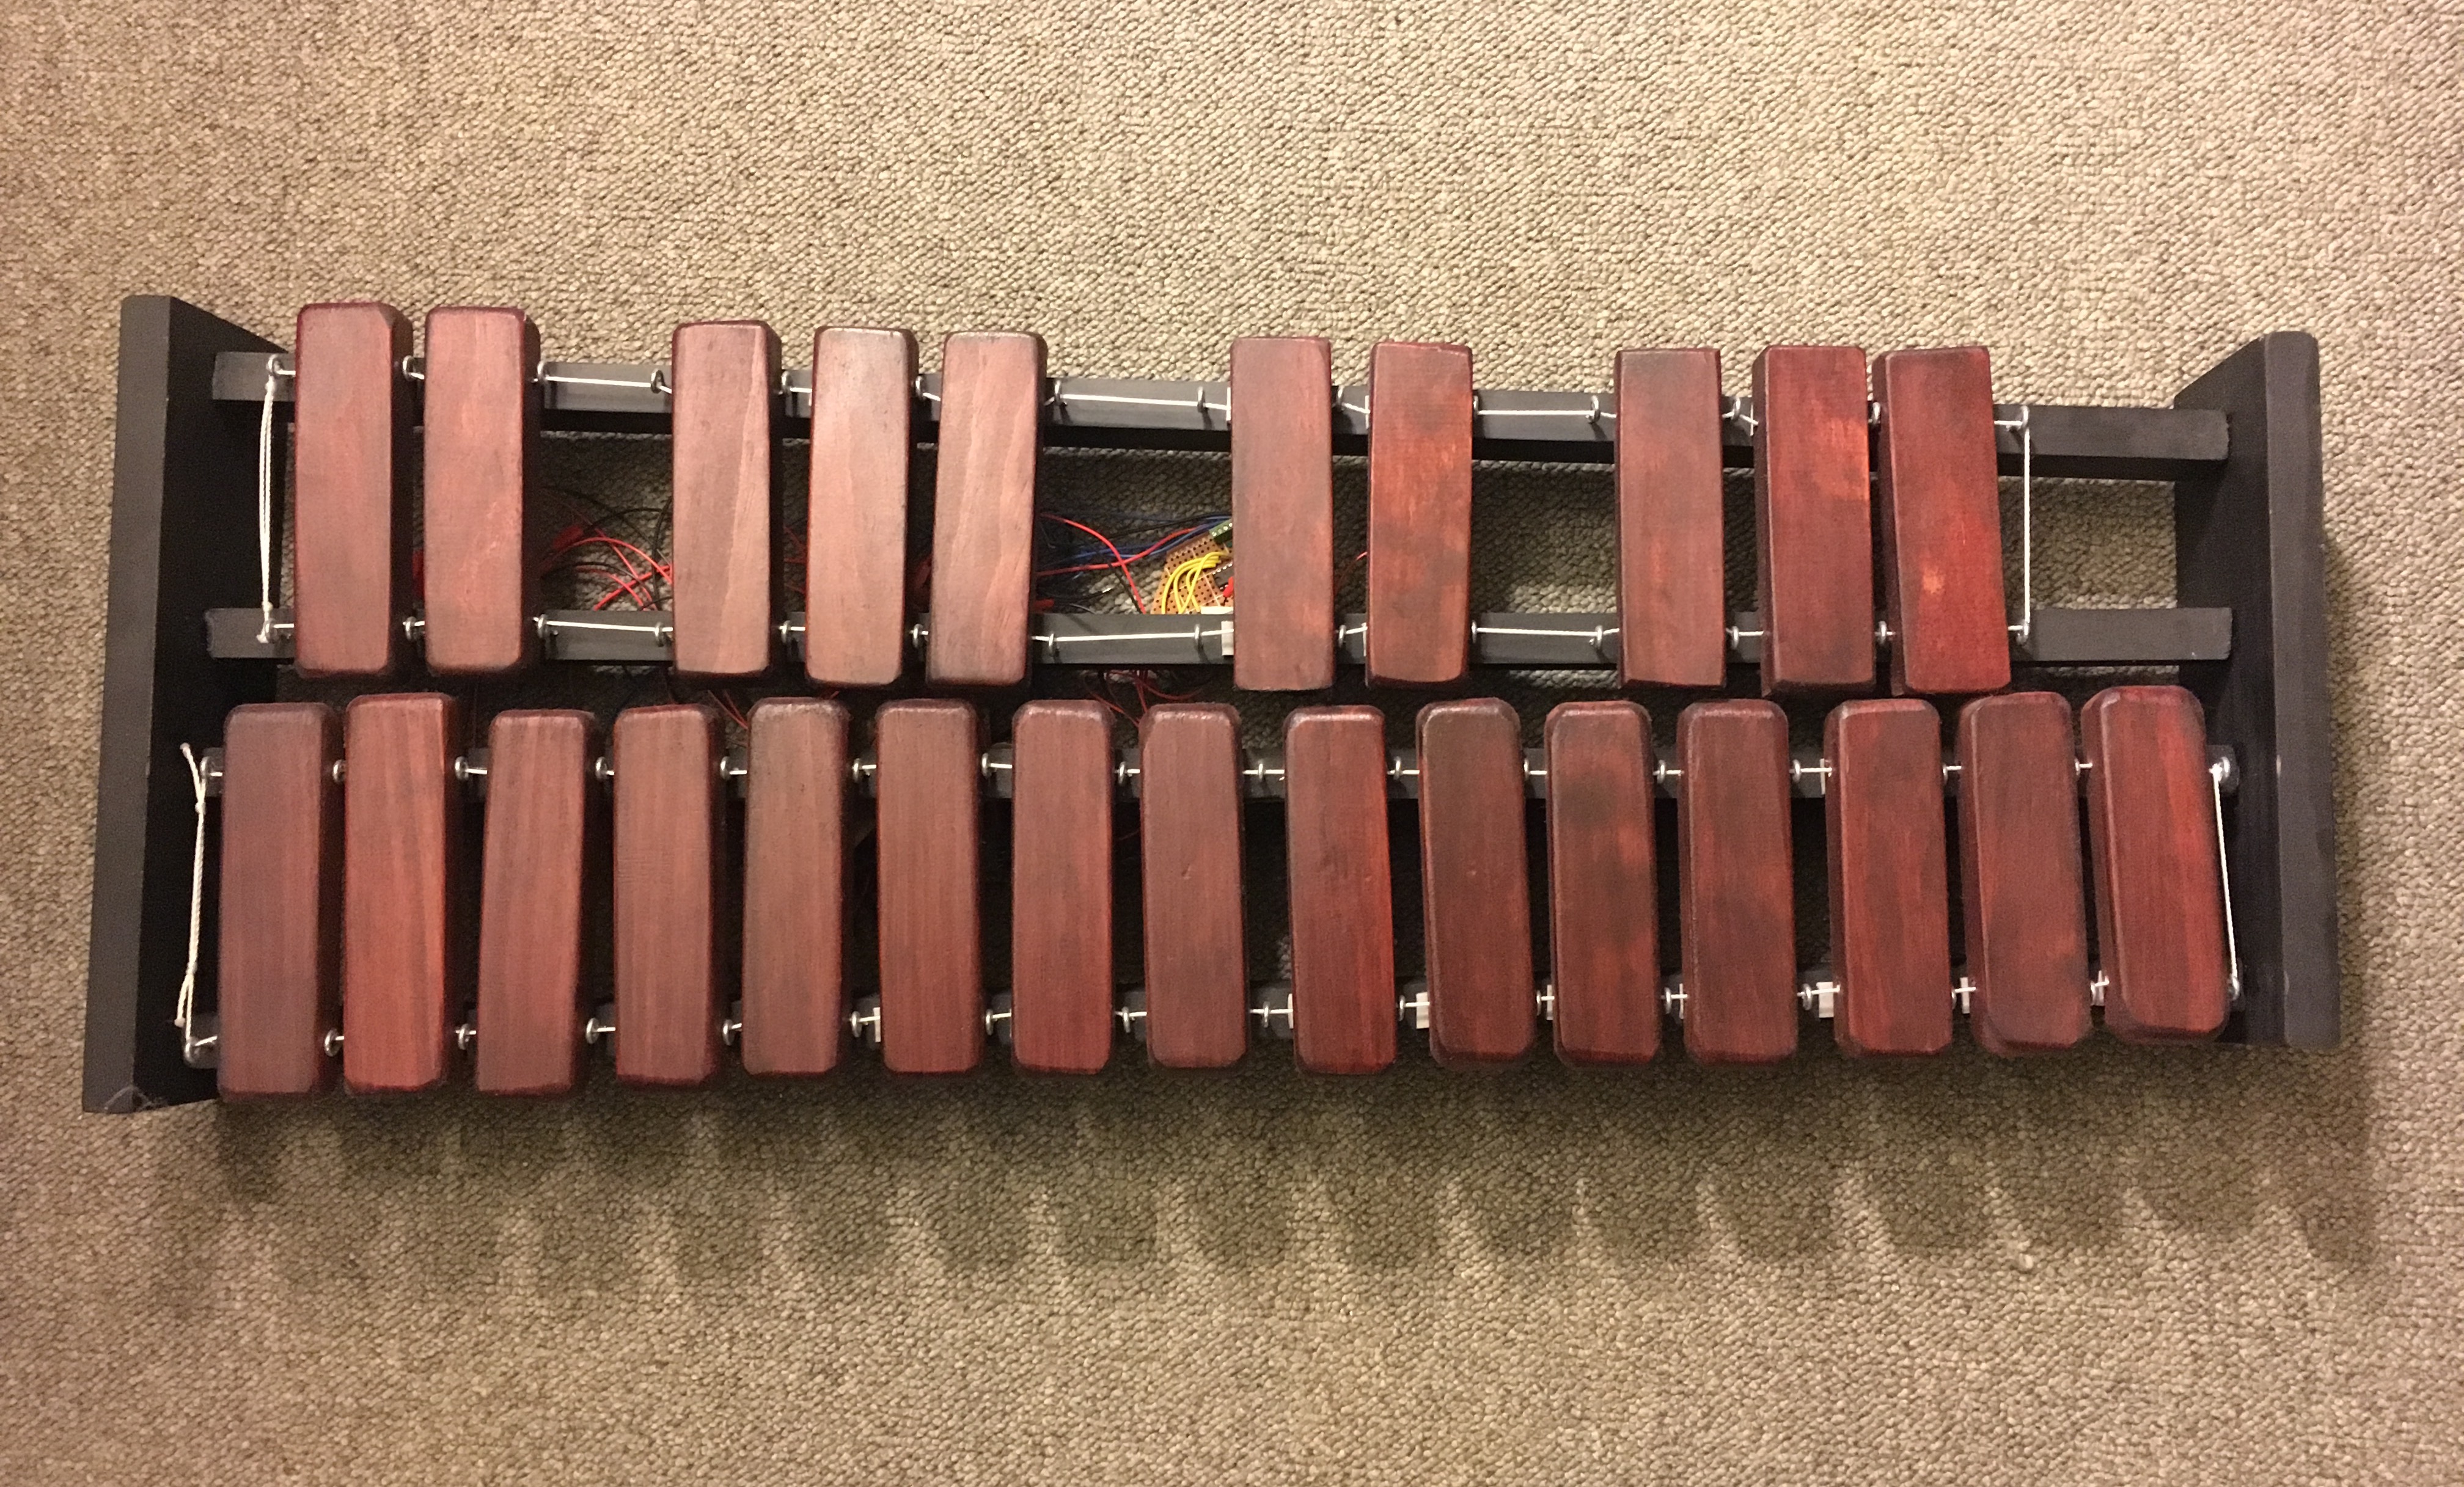
The first step was to build a marimba. On my instrument, the
actual shape and tone of the keys wouldn't matter, since all of
the sound will be generated by a computer. I wanted the instrument
to be two octaves long, so I measured out and constructed an
appropriately sized frame to hold the keys. They keys are simple
1x2 inch blocks, with lengths that range from 8 inches to 6
inches. Lastly, I just drilled two holes in each key so that I
could suspend them by a string connected to the frame. Lastly, I
just added some foam padding in between the keys and frame, since
I didn't want mallet noise interfering with the sound generated by
the computer.
The marimba frame that I built
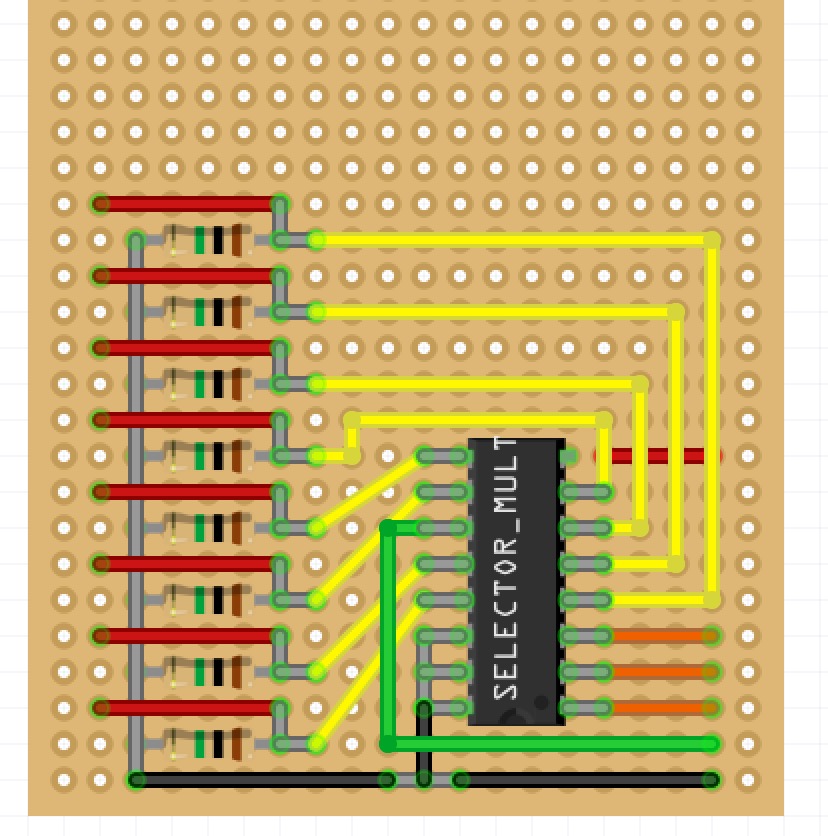
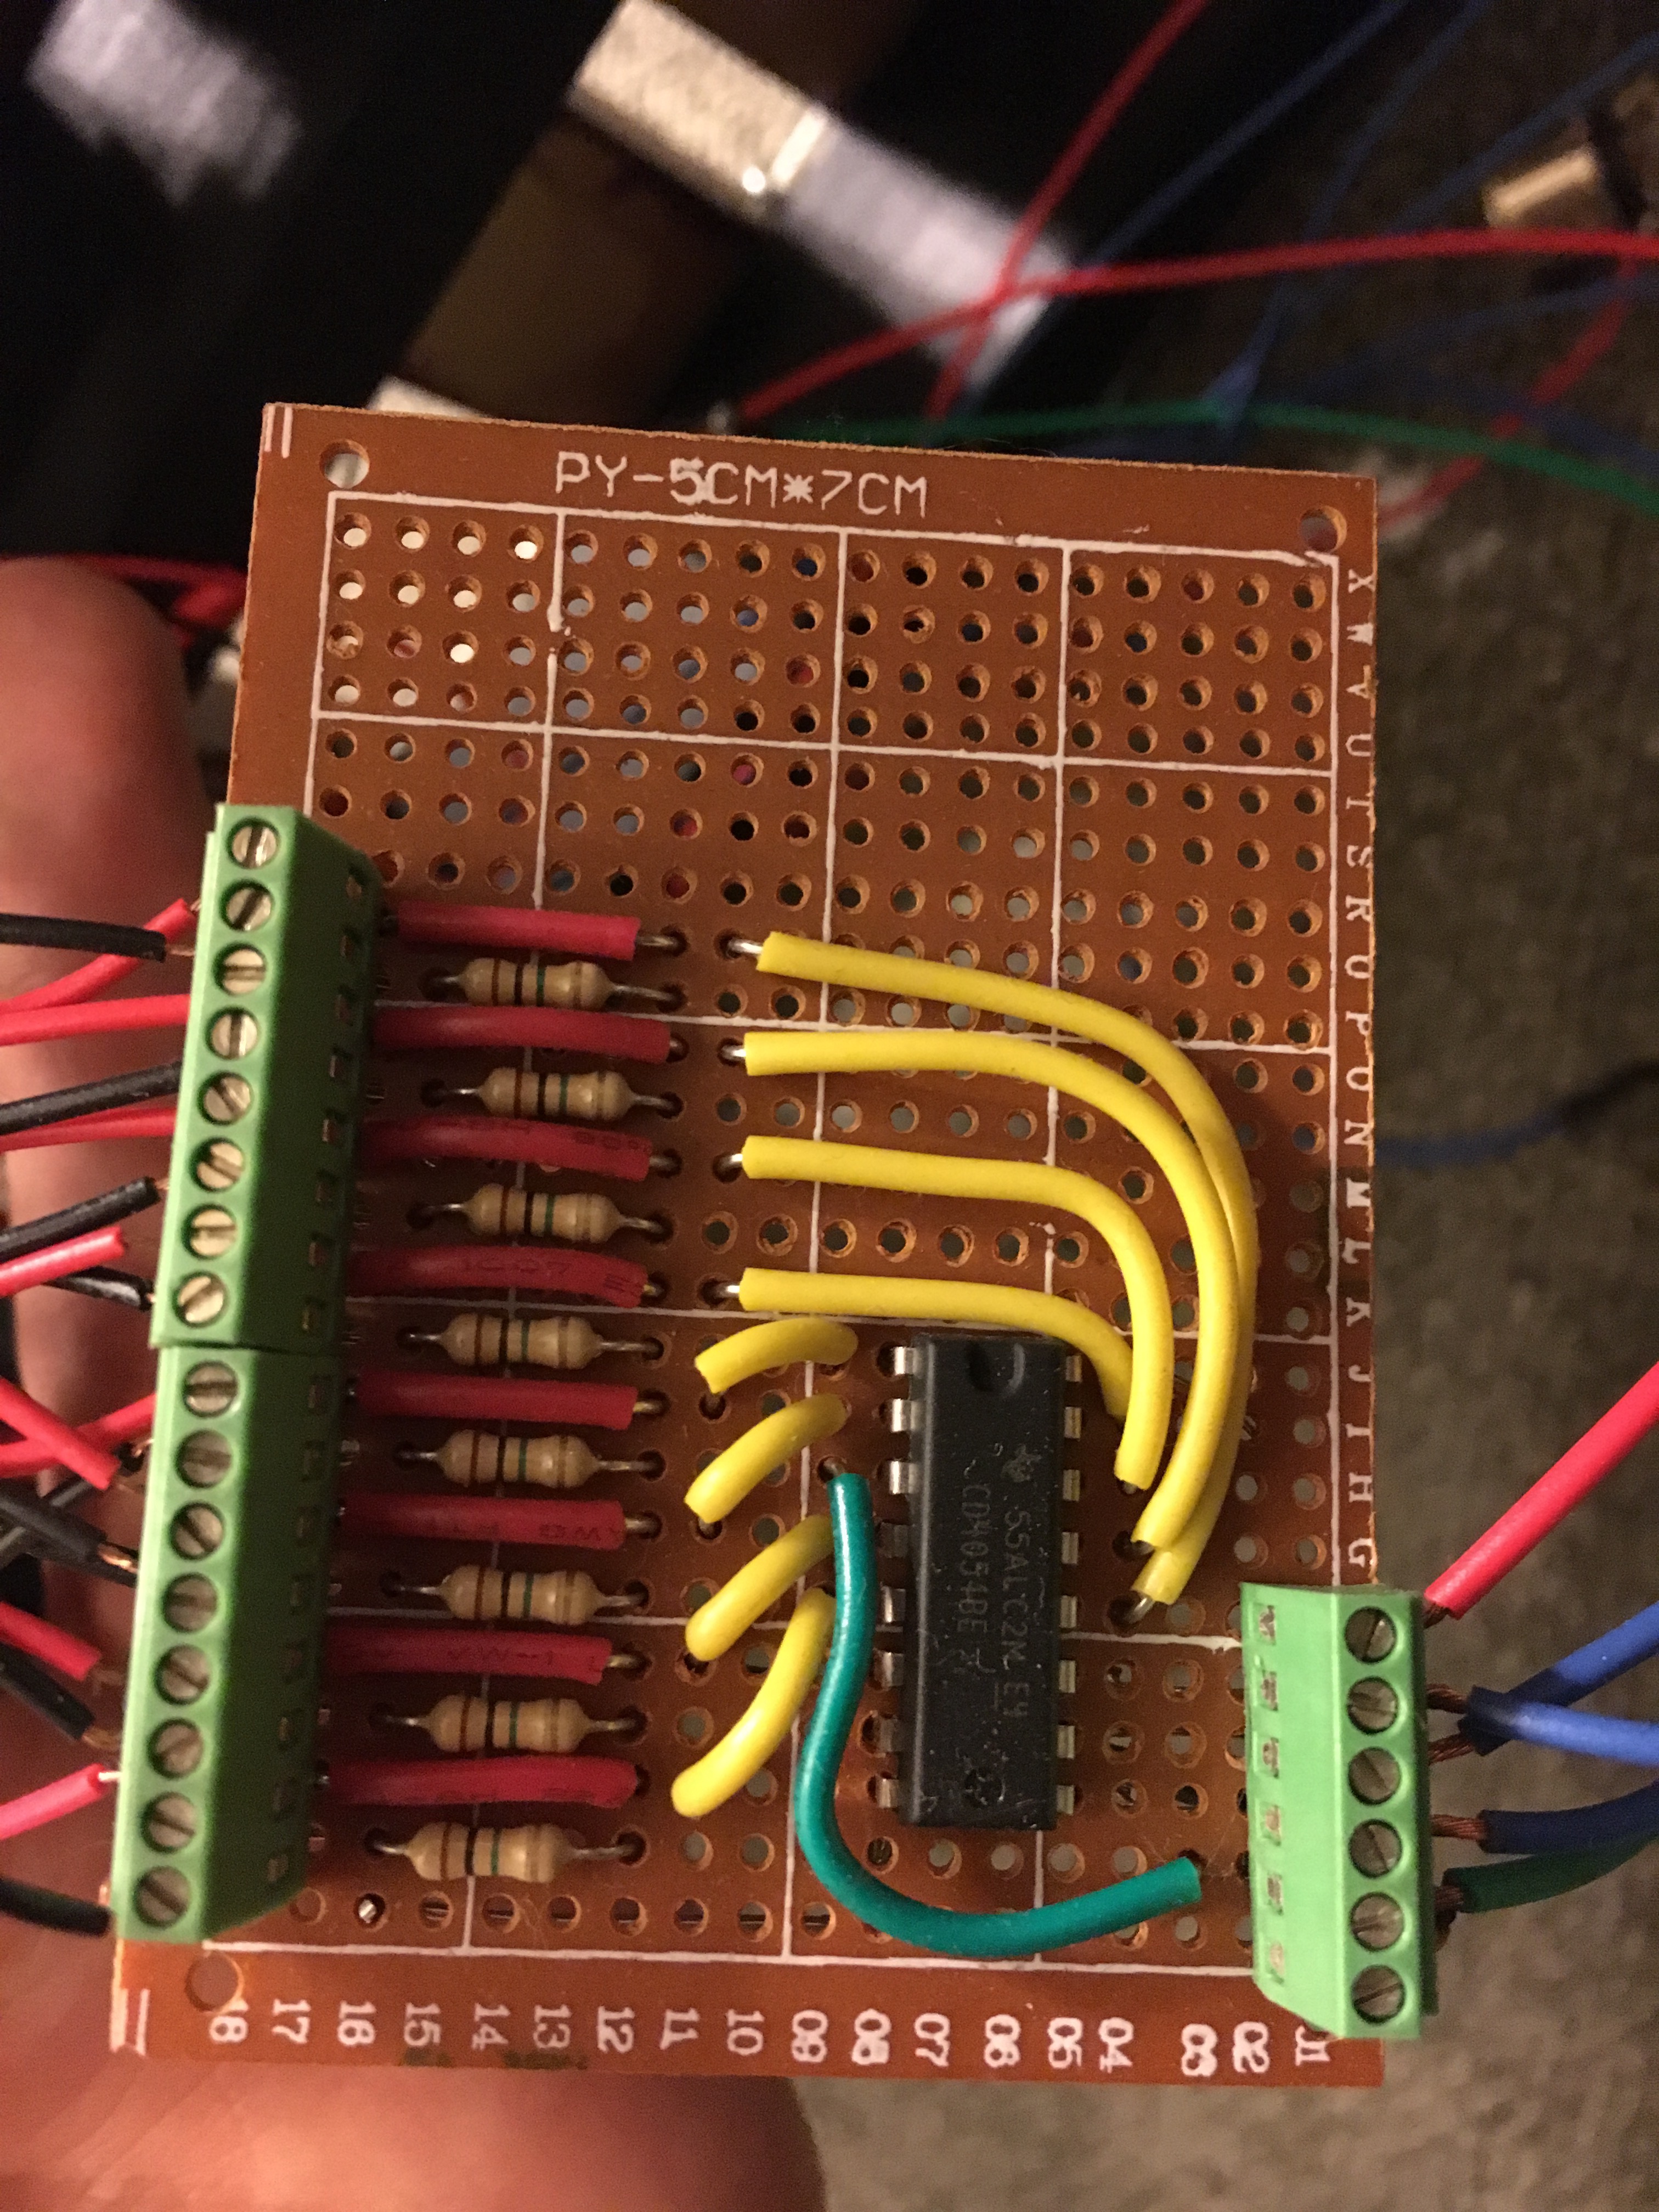
Next I began on the electronics. Since the Arduino doesn't have
enough data input for all 24 keys, I used three 3-to-8
multiplexors in order to cycle through the sensors. The piezo
sensors require pull-down resistors in order to ensure they read 0
Volts when not being hit. I used 1K Ohm resistors for this
purpose. The piezo sensors are connected to terminal blocks on the
left, and the right side power, data, and ground connections all
go to the Arduino.
The schematic and final version of the multiplexor circuit
I wrote code for the Arduino that cycles through every
multiplexor input, and reads the voltages of the piezo sensors.
The program has a certain threashold that triggers the appropiate
midi note if the piezo sensors produce a high enough voltage. The
midi signal is then sent to my audio interface, which triggers a
VST instrument on my computer.
A demonstration of the final marimba
Conclusion
The marimba works! I've been able to control various synthesizers
and VSTs, and the MIDI thresholding works well to isolate the
intended notes from other vibrations in the instrument.
There currently are some issues with the marimba, and I would
like to build a second prototype of this project in the future.
Currently, the marimba has an inconsistent velocity response. This
could be due to density variations of the wooden keys or possibly
that the multiplexors arent sampling each piezo fast enough and
they are overlooking part of the peak voltage. I have read the
force-sensitive resistors have much better pressure sensing than
piezo sensors, but they are much more expensive. I plan to address
this issue first by designing capacitive circuitry to hold the
peak voltage of the piezo for longer.
I would also like to add some other features to the second
prototype. Having different velocity curves, threshold options, an
octave up/down button are just some of the first features I would
implement. I'm generally pleased with how the first prototype
turned out, and I hope to continue this project in the
future.