
Raspberry Pi 4 NAS
October 2019
Introduction
NAS stands for Network Attached Storage, which is essentially a
miniature home server that allows you to access your external
files (for example, a large photo library or media center) over
your home wifi network. Depending on how you configure it, you can
even access your files over the internet so that your don't have
to take up valuable storage space on your laptop or phone. For my
use, I mainly wanted to store my old Logic/Ableton projects, It
also serves as remote backup that's always connected, so it is
easier to make frequent backups compared to a typical external
hard drive.
Some advantages of using a Raspberry Pi as a NAS are the price,
size and... The cheapest model starts at just $35, and can even
function as a full-fledged desktop computer if you decide later on
to upgrade your NAS. The Pi's ARM-based processor architecture is
also very power-efficient, so even though the server will be on
all of the time, it won't raise your electric bill significantly.
Although it is possible to complete this project using previous
versions of the Raspberry Pi, the addition of gigabit ethernet,
USB 3, and a faster processor make the Raspberry Pi 4 a much more
suitable NAS server.
There are of course some disadvantages to such a setup. First,
the Pi's processor is not powerful enough to support transcoding
on Plex, so we're limited to direct play over our LAN, and
streaming our media over the internet isn't possible. Also we're
limited to gigabit ethernet since there's no way to add 10 gigabit
to the Pi. This connection can support a single drive at nearly
full read/write speed, but anything faster like a RAID setup or
SSD will easily saturate a gigabit ethernet connection. But for
just a backup server or for local Plex hosting, the Pi works
perfectly. Having considered these limitations, let's get
started.
The supplies I used for this project are
- Raspberry Pi 4 ($35)
- 32GB Micro SD card ($10)
- 5V 3A (or more) USB C Power supply ($10)
-
Micro-HDMI to HDMI cable (optional, but useful for
troubleshooting)
- External hard drives for NAS storage
Setting up the Pi
For this project, we are going to be using Open Media Vault
(OMV), an open-source operating system designed for NAS devices.
Go here to download OMV.
Make sure you get the correct version, which for us is the one
whose filenname ends in a "4" (for Raspberry Pi 4).
Extract the zip, and burn the image to your SD card. For this, I
used
SD Card Formatter
to erase the card, and
Balena Etcher to burn
the image to the SD card.
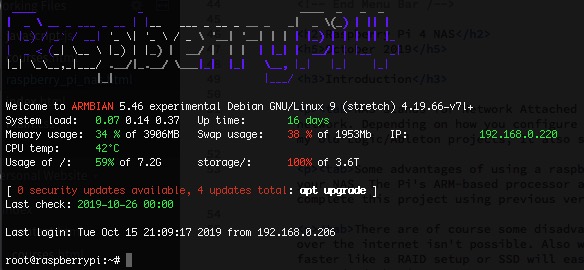
Plug in the SD card to the Pi and power it on. At this point,
it's easiest if you plug-in HDMI cable to an external monitor, and
you will see your PI's IP address on the screen. Alternatively,
you can place a file called "ssh" (no file extention) on to the
boot directory of your SD card and find your ip using
arp -a
on another computer on your LAN. Run the command once while your Pi
is off, and again after you power it on. The new IP in the list is
your Pi's IP. On another computer, type
ssh root@[your Pi's IP]
and log on with the password "openmediavault". We will use this SSH
window to enter terminal commands to our Pi.
Setting up OMV
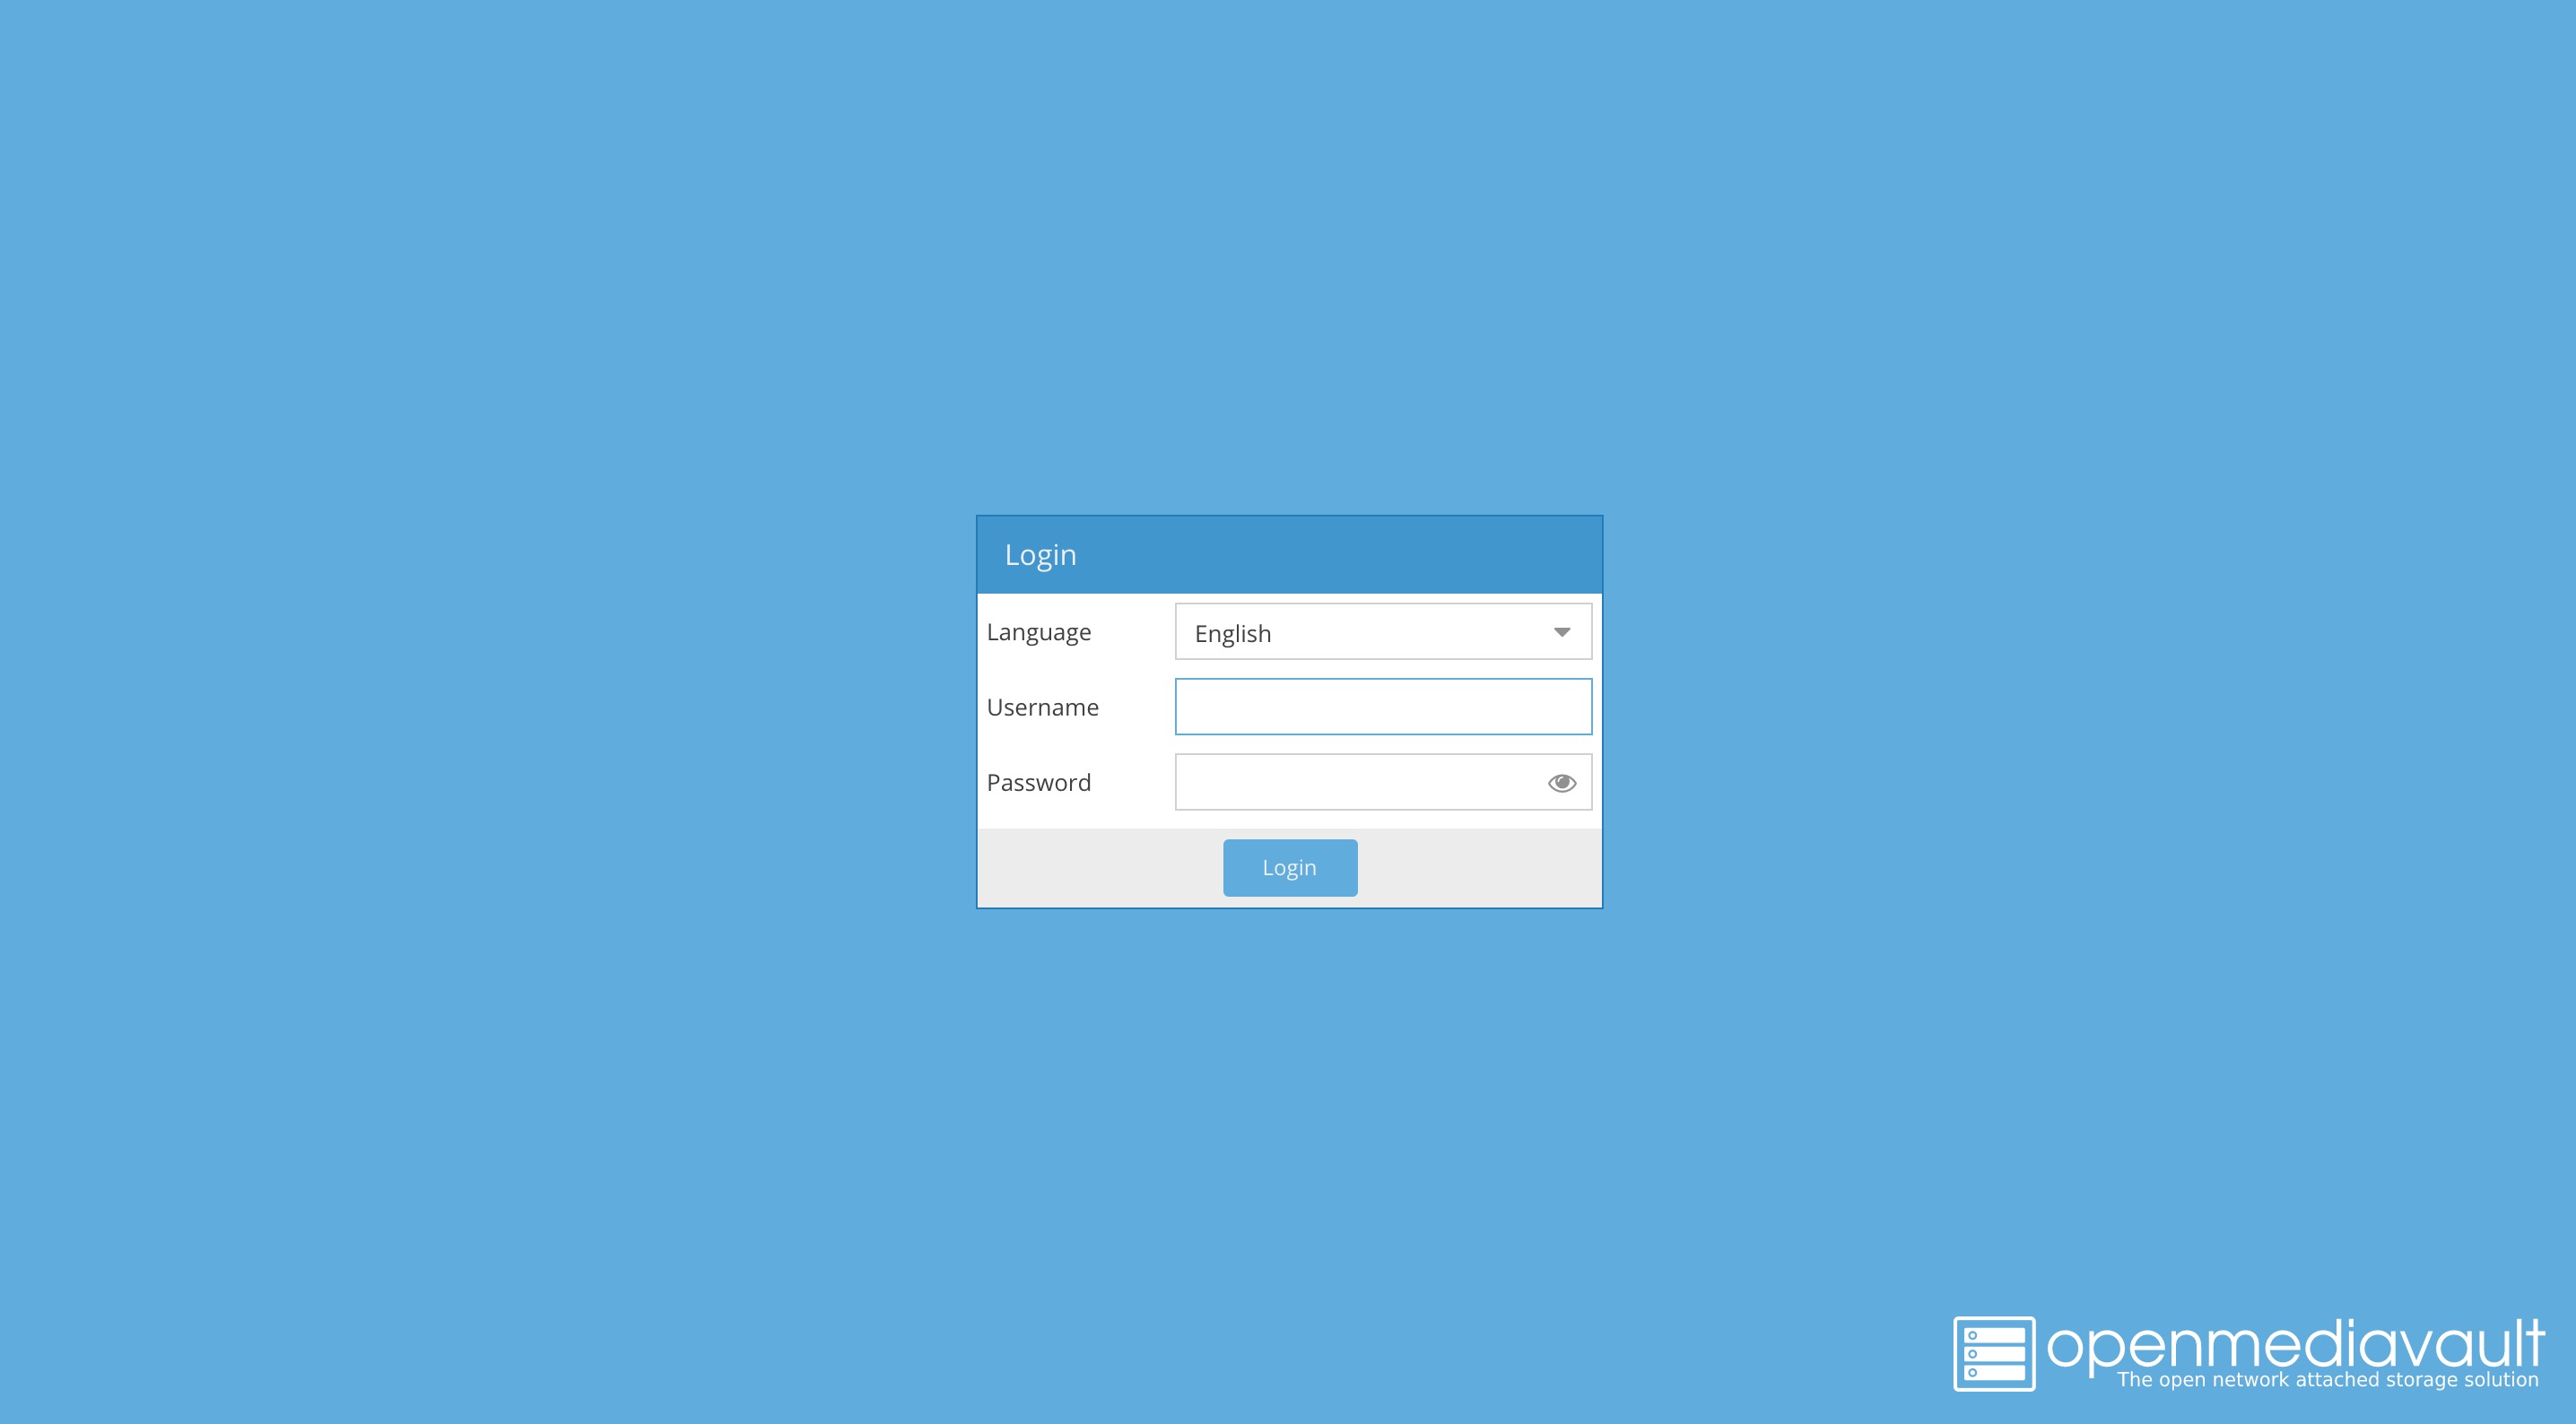
Next, open a web browser on another computer and go to your Pi's
IP. The default username is "admin" and enter "openmediavault" for
the password, so enter these credentials to log in. Now you should
see the default overview screen. The first thing we are going to
do is change the administrator password. In the main sidebar, go
to General Settings -> Web Administrator Password, enter a new
password of your choosing, and click save.
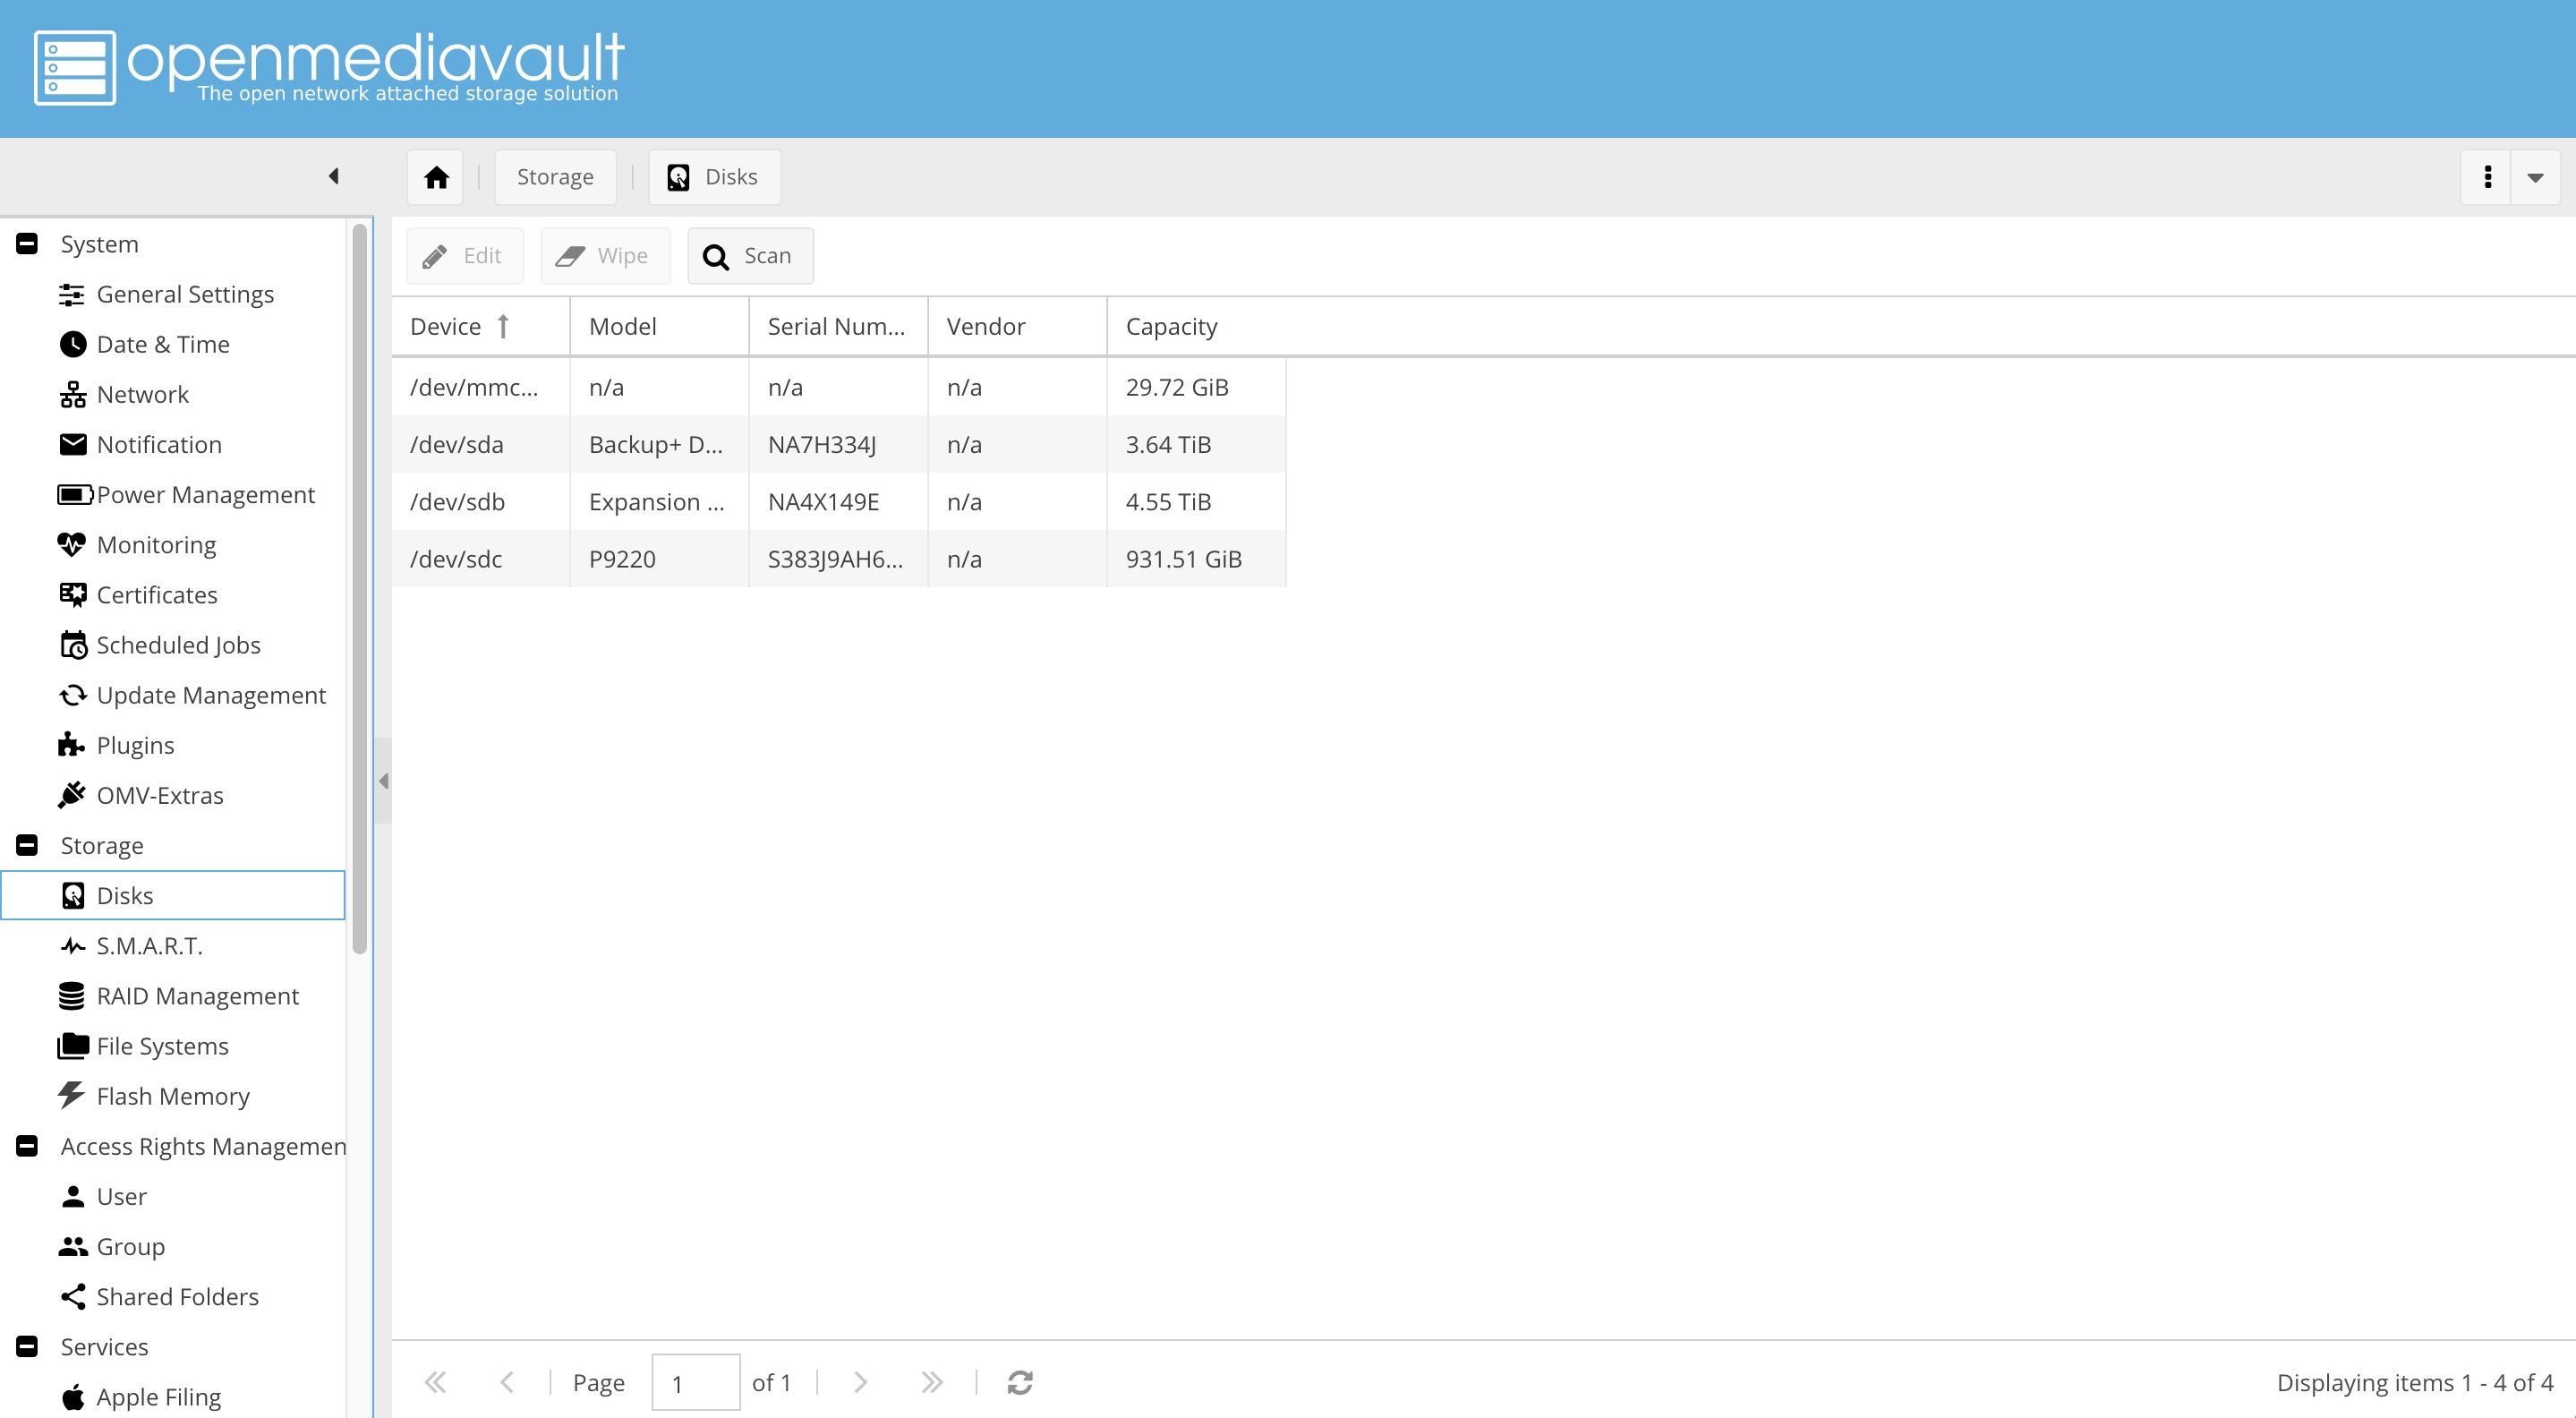
Now it's time to set up our storage devices. Make sure that your
external hard drives are plugged into the Raspberry Pi, and go to
the Disks menu in the OMV sidebar. All of the disks should be
visible here under the labels /dev/sda, /dev/sdb, etc. We have to
erase each disk before setting them up in OMV. (IMPORTANT: all
data will be lost after the next step. Make sure you have a backup
of any data currently on the disk that you can restore after
erasing). Once you are sure there's no data to be lost, select
each disk and click Wipe.

Next go to the File Systems tab, and click Create. Select one of
your drives from the devices drop-down, choose a name for the
drive, and leave the file system as EXT4. Click OK, and OMV will
begin formatting the drive. Once it is finished, you may have to
click Mount to mount the drive.
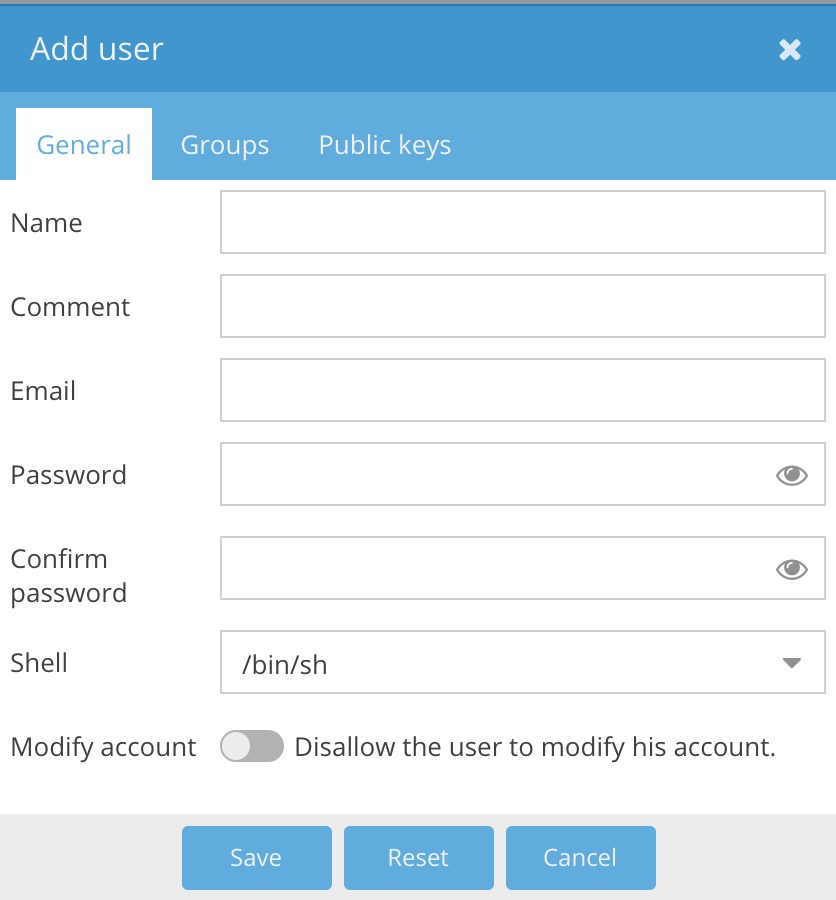
We also have to add some users to our server. Go to the User side
menu, and click Add. It's easier later on if the first user you
add is the administrator (you). Enter a name and password, and
optionally an email or comment. Click Save. Any time you change a
setting in OMV, you will be prompted to apply the setting, so
click "Apply". You can also assign users to groups in the Group
menu, but we will skip this step since we won't have very many
users for this NAS.
We can now set up our shared folders. These are what will show up
as the network "drives" when each of your users connect to your
NAS. You can choose permissions for each of your shares, allowing
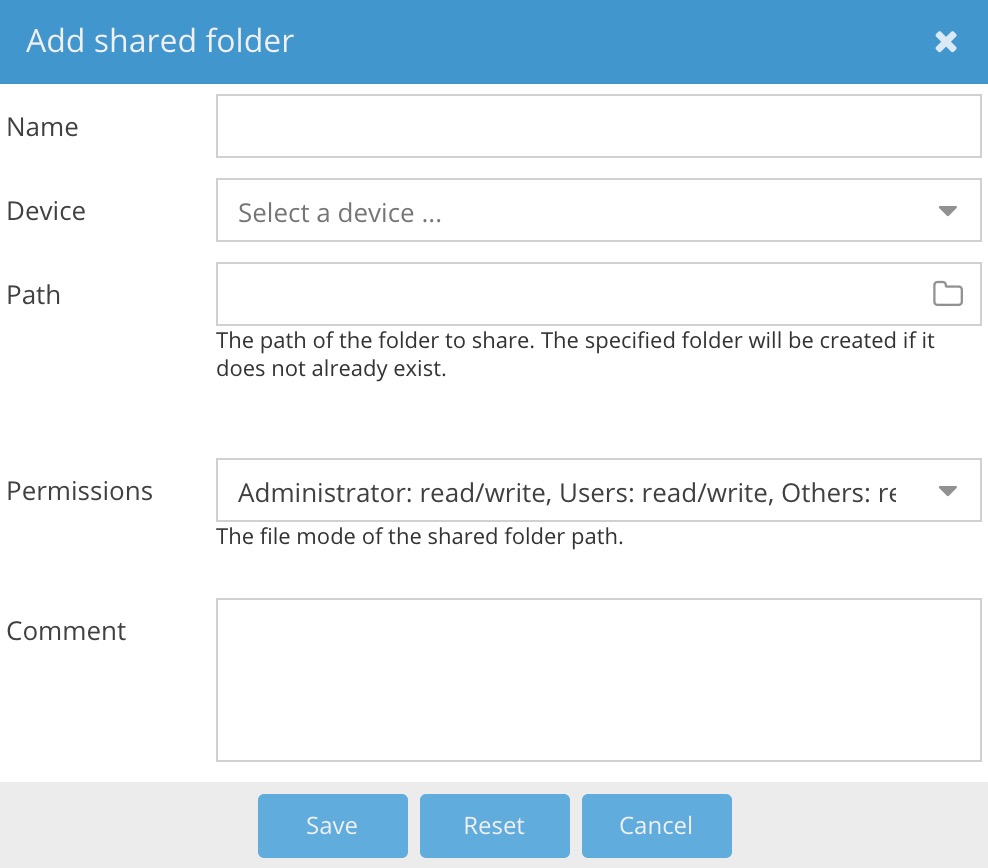
just one, or as many users access it as you would like. Click Add,
and make a name for your new shard folder. The default path and
permissions can be left as-is. Choose a device to store your
shared folder. The only consideration here is that shares can not
be split across devices, so be sure to plan well for how large you
anticipate the folder to be. Click Save.
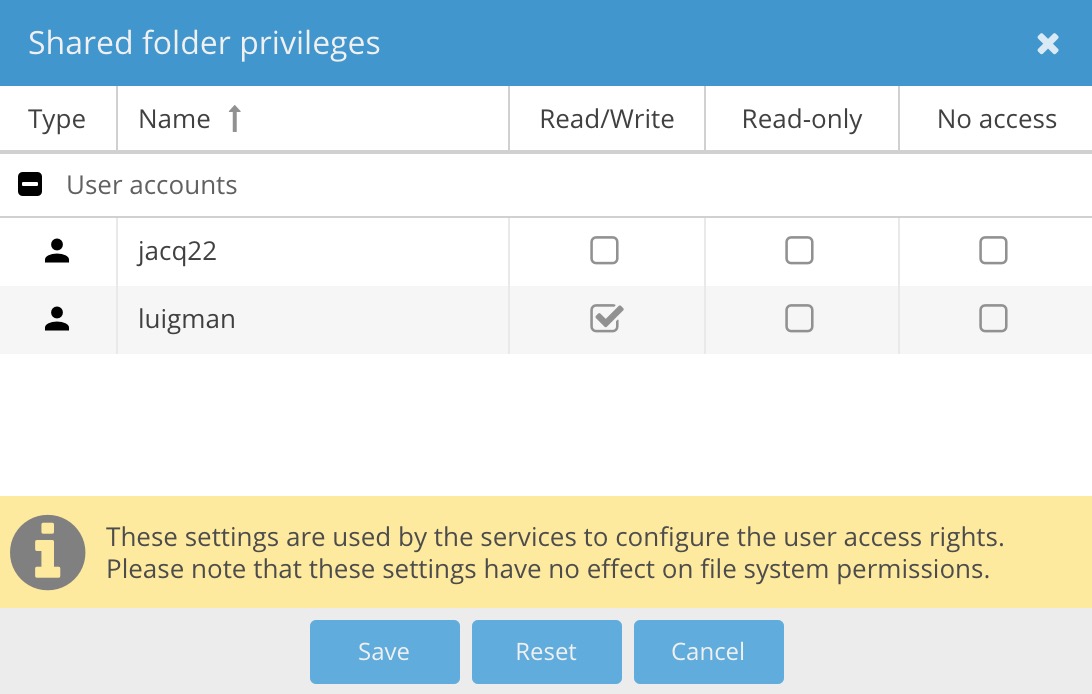
Now select your new shared folder and click Privileges. Choose
what users you want to be able to access the folder, and click
Save.
We will be using the SMB protocol for our shares. It has
excellent cross-platform compatibility, so it will work with any
Windows, Mac, or Linux device (This does not work for Apple Time
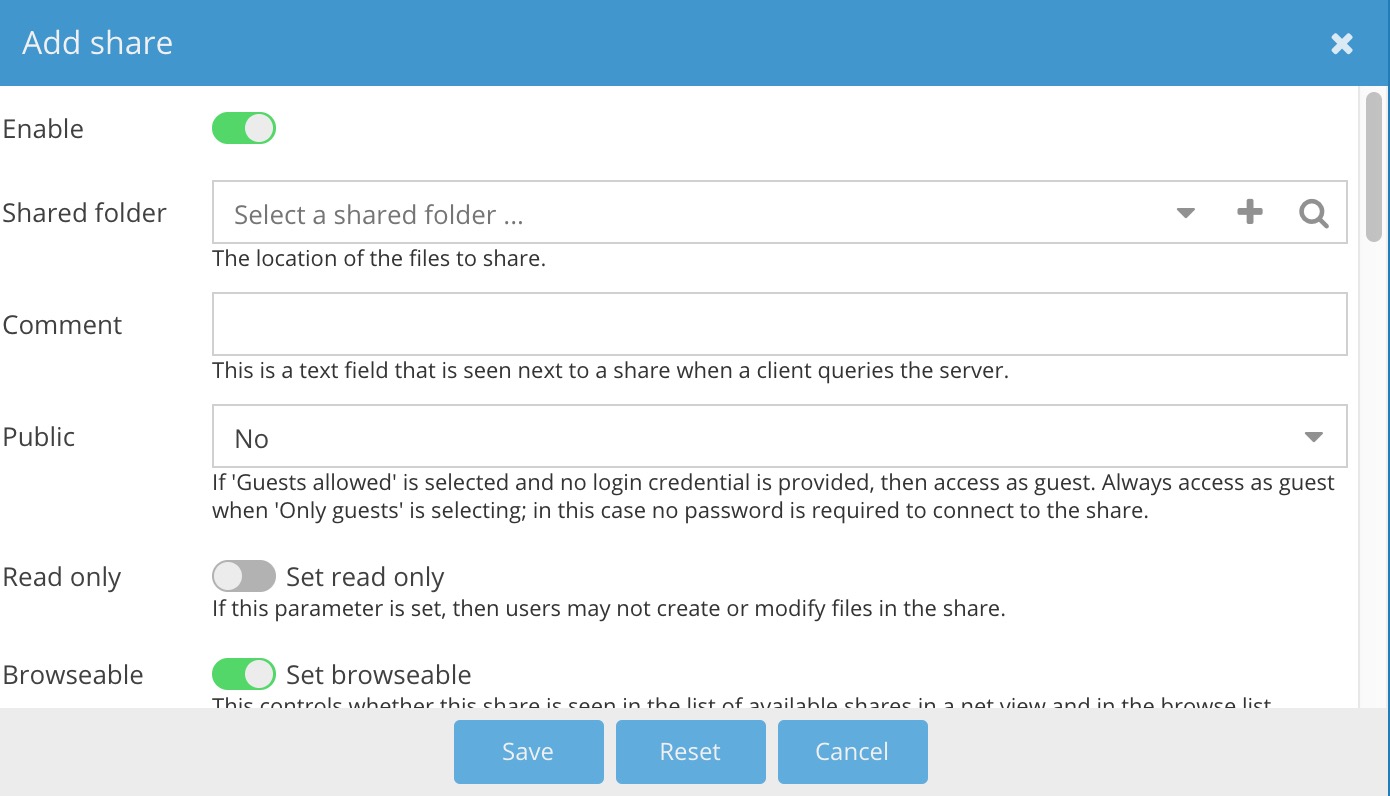
Machine backups. For this setup, see below). Go to the SMB/CIFS
sidebar menu, click Enable, and Save. Then go to the Shares tab in
the top menu. We need to add our shared folders here. Click add
and select your shares in from the drop down. The default
parameters here are all fine, but you could enable the recycle bin
if you would like the option of recovering deleted files on you
shares. Click Save and Apply.
That's it! We now have a SMB shared folder on our home network.
In order to connect to it, follow
these instructions,
and enter your raspberry pi's IP address as the SMB name.
Setting up an Apple Time Machine backup
Getting time machine to work on OMV follows many of the same
steps as SMB. Create a new share, assign permissions for the
correct user, but now instead of adding it to SMB, we need to go
to the Apple Filing sidebar menu. Click Enable and Save. The go to
Shares, and add your new Time Machine share. The only setting you
have to change is "Enable Time Machine support for this share."
Now you should be able to see that share as a backup option on the
Time Machine setting on your Mac. Just log in using your OMV
account, and the Time Machine will start backing up your
files.
Setting up Docker and Plex
Note: for this section, it's easiest if you already have a shared
"config". There's no need to add it as a SMB share.
Since OMV is a server operating system, we use containers to run
applications more efficiently than with virtual machines. Docker
is a platform for running applications inside of containers, and
we will use Docker to run our Plex server. Go to the Plugins
sidebar menu, and search for Docker. Click Install. If you don't
see Docker, you may have to
install OMV-Extras. At this
point, you may also have to restart OMV by clicking the three dots
in the top right, and clicking Reboot. You should now see that
Docker has its own entry in the sidebar menu, under Services.
In the Docker menu, go to the search box under Docker Images, and
search for "lsioarmhf/plex". We use the ARM distribution because
we're using a Raspberry Pi. If we built our NAS using typical PC
or server hardware, we would use "linuxserver/plex". Click start
to install the image.
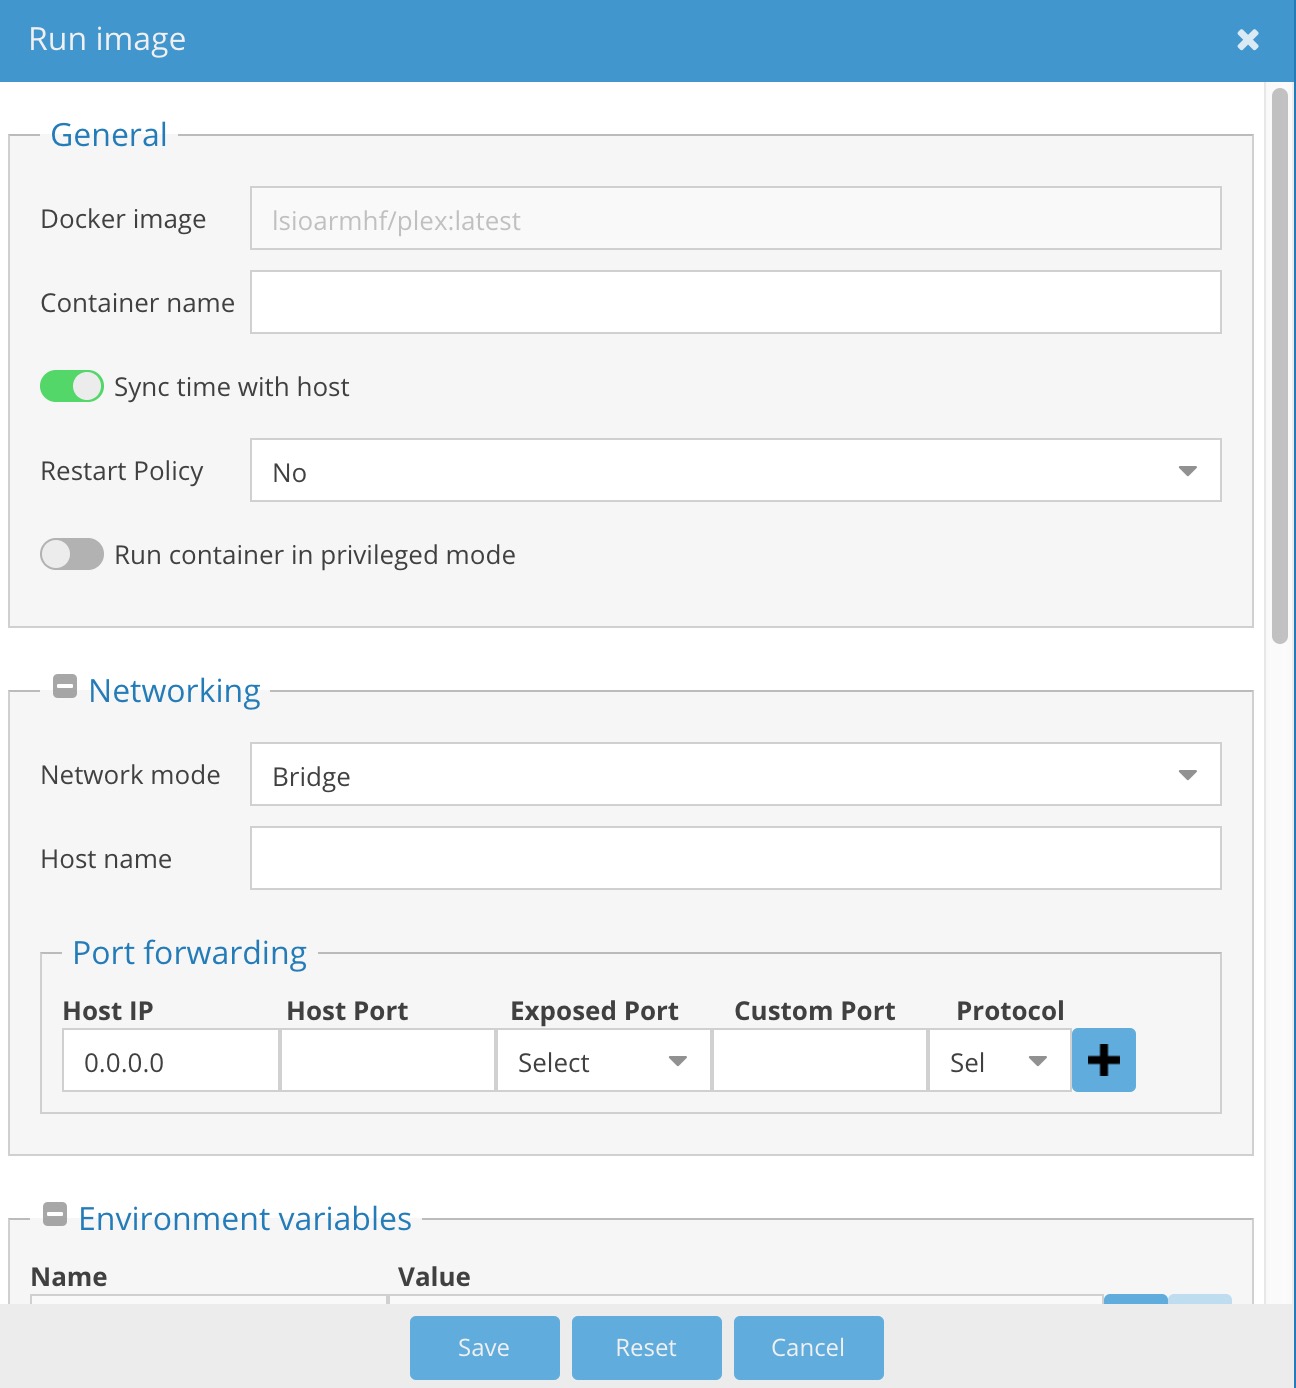
Next, select Plex under Docker Images, and click Run Image. In
the screen that pops up, add a Container Name. Set the Restart
Policy to "Always". Make the Network Mode "Host". Under
Environment Variables, we need to add a row called "PUID", and set
the value to 1000. Add another row called "PGID", with the value
of 100. Note: these values are only accurate if the first user you
added to OMV was the admin. Use
id -u username
in the Raspberry Pi terminal to find the UID of a specific user and
id -g username
to find the GID.
Scroll down to Volumes and Bind Mounts. This is where we tell
Docker how to map the directories that Plex will be looking for.
Under Container Path, add "/media", and make the Host path
wherever you plan to keep your Plex media on one of your shared
folders. Next add a new container path named "/config" and point
it to the host path "/sharedfolders/config/Plex". If you don't
have a Plex directory, Docker will create one for you. Lastly add
the "/transcode" path as "/sharedfolders/config/transcode". Click
Save to start the container.
To access Plex, go to "[your ip]:32400/web". Follow
these directions for setting up Plex. Since we already mapped our directories inside of Docker, when
prompted for our media locations, we can just add the Plex default
"/movies", "/tv", "/music", and "/photos" directories.
And we're done! We can add our media to the Plex directories and
start enjoying our content wirelessly, from any device on our
LAN.
Improve SMB read speed on MacOS
In recent versions of MacOS, the existence of a .DS_Store file on a
network share can significantly slow down the time it takes to read
directory names and contents. This terminal command disables MacOS
from reading the .DS_Store file. See
here for more
info.
defaults write com.apple.desktopservices DSDontWriteNetworkStores
            -bool TRUE
A note on RAID
Originally, I was hoping to use this setup with RAID 0 (disk
striping) or RAID 5 (striping with parity) in order to increase
read times from the NAS. While OMV is capable of these
configurations, gigabit ethernet is actually the main bottleneck,
and even a single drive is able to saturate this connection.
Setting up drives in RAID actually lowered read speeds for me due
to the increased overhead of software RAID.
Similarly, I also do not recommend using RAID 1 (disk mirroring).
Since this is a personal NAS (as opposed to a small business, for
example), we are not as concerned about coherency of our shares in
the event of a drive failure. Since RAID is not designed as to be
a backup, you are much better off setting up an Rsync task to
backup your data. This way, you eliminate an additional single
point of failure (software RAID on the Pi). If a drive fails, you
can just install a new drive, copy your data from the backup, and
resume using the NAS as normal.